SSH remote access for Raspberry Pi has become an essential skill for IoT enthusiasts and developers alike. Whether you're setting up a smart home device or managing remote servers, understanding how SSH works with Raspberry Pi can significantly enhance your project's functionality and security. This comprehensive guide will walk you through everything you need to know to leverage SSH for your IoT applications.
In today's interconnected world, the Internet of Things (IoT) is transforming the way we interact with technology. From smart thermostats to autonomous vehicles, IoT devices rely heavily on secure communication protocols. Among these, SSH stands out as a robust solution for remote access and management. This article aims to provide you with an in-depth understanding of SSH remote access specifically tailored for Raspberry Pi users.
As you delve deeper into this guide, you'll discover practical tips, step-by-step instructions, and expert advice to help you master SSH remote access. By the end, you'll be equipped with the knowledge and skills needed to securely manage your Raspberry Pi-based IoT projects from anywhere in the world.
Read also:El Pirata De Culiacan Autopsy Unveiling The Truth Behind The Infamous Legend
Table of Contents
- Introduction to SSH
- Raspberry Pi Overview
- Setting Up SSH on Raspberry Pi
- Connecting to Raspberry Pi via SSH
- Securing SSH Connections
- Troubleshooting Common Issues
- Advanced SSH Techniques
- SSH and IoT Applications
- Best Practices for SSH RemoteIoT
- Conclusion and Next Steps
Introduction to SSH
Secure Shell (SSH) is a cryptographic network protocol designed for secure data communication over unsecured networks. It provides a reliable way to access remote servers and devices, making it an indispensable tool for system administrators and developers. SSH ensures that all data exchanged between the client and server remains encrypted and secure from eavesdropping.
SSH remote access for Raspberry Pi is particularly beneficial for IoT projects. By enabling SSH, users can manage their Raspberry Pi devices remotely without needing physical access. This capability is crucial for deploying IoT solutions in remote locations or environments where direct interaction is not feasible.
Key Features of SSH
- Encryption of data during transmission
- Authentication mechanisms to verify user identity
- Support for secure file transfers via SFTP
- Ability to execute remote commands securely
Raspberry Pi Overview
The Raspberry Pi is a credit-card-sized single-board computer that has gained immense popularity among hobbyists, educators, and professionals alike. Its affordability, versatility, and ease of use make it an ideal platform for experimenting with IoT projects. The Raspberry Pi supports a wide range of operating systems, including Raspbian, Ubuntu, and other Linux distributions, providing users with flexibility in software development.
For IoT applications, the Raspberry Pi offers several advantages:
- Low power consumption
- Wide range of GPIO pins for interfacing with sensors and actuators
- Support for various communication protocols, including Wi-Fi, Bluetooth, and Ethernet
Setting Up SSH on Raspberry Pi
Enabling SSH on your Raspberry Pi is a straightforward process. By default, SSH is disabled on recent versions of Raspberry Pi OS to enhance security. However, you can easily activate it using the following methods:
Method 1: Using Raspberry Pi Configuration Tool
- Open the terminal on your Raspberry Pi.
- Type
sudo raspi-configand press Enter. - Select "Interfacing Options" and navigate to "SSH".
- Choose "Enable" and exit the configuration tool.
Method 2: Adding SSH File to SD Card
If you're setting up a headless Raspberry Pi (without a monitor or keyboard), you can enable SSH by adding an empty file named "ssh" to the boot partition of the SD card. This method is particularly useful for remote setups.
Read also:Spenser Confidential 2 2023 A Thrilling Sequel Worth The Wait
Connecting to Raspberry Pi via SSH
Once SSH is enabled, you can connect to your Raspberry Pi from another computer using an SSH client. On Windows, you can use tools like PuTTY, while macOS and Linux users can leverage the built-in terminal application.
Steps to Connect via SSH
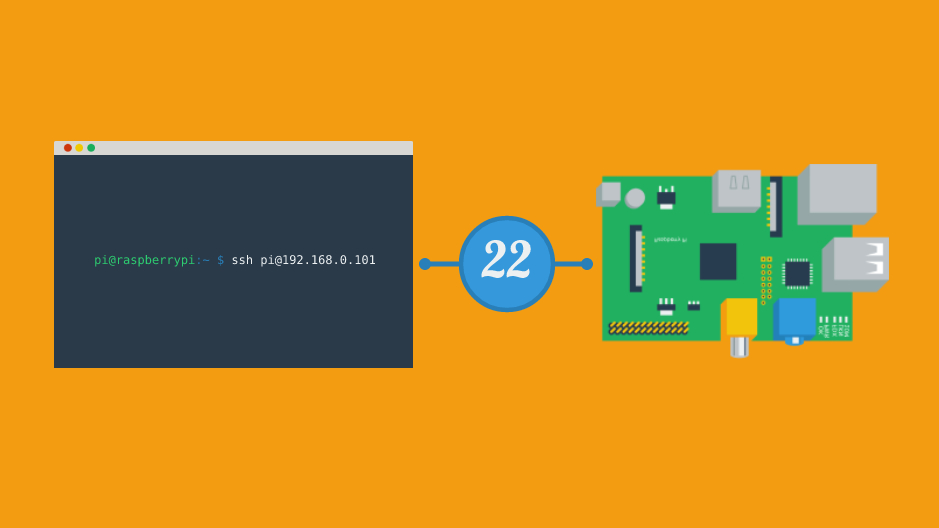
- Find the IP address of your Raspberry Pi using the command
ifconfigorip addr. - Open your SSH client and enter the following command:
ssh pi@. - When prompted, enter the default password ("raspberry") or your custom password if you've changed it.
Securing SSH Connections
While SSH provides a secure communication channel, it's essential to implement additional security measures to protect your Raspberry Pi from unauthorized access. Here are some best practices to enhance SSH security:
Change Default Credentials
Modify the default username and password to prevent brute-force attacks. Consider using strong, complex passwords or even disabling password-based authentication in favor of SSH keys.
Disable Root Login
Restrict direct root access via SSH to minimize the risk of malicious activity. You can disable root login by editing the SSH configuration file:
- Open the file using
sudo nano /etc/ssh/sshd_config. - Set the parameter
PermitRootLoginto "no". - Restart the SSH service:
sudo service ssh restart.
Troubleshooting Common Issues
Even with proper setup, you may encounter issues when using SSH with your Raspberry Pi. Below are some common problems and their solutions:
Connection Refused
If you receive a "connection refused" error, ensure that SSH is enabled on your Raspberry Pi and verify the IP address you're using to connect. Additionally, check your firewall settings to confirm that port 22 (the default SSH port) is open.
Authentication Failure
This issue typically arises due to incorrect login credentials. Double-check your username and password, and ensure that password-based authentication is enabled in the SSH configuration.
Advanced SSH Techniques
Once you've mastered the basics of SSH remote access, you can explore advanced techniques to further enhance your Raspberry Pi's functionality:
SSH Tunneling
Create secure tunnels to access services running on your Raspberry Pi from remote locations. For example, you can tunnel HTTP traffic to access a web server hosted on your Pi securely.
Port Forwarding
Configure port forwarding to allow access to specific services on your Raspberry Pi without exposing the entire device to the internet. This technique enhances security while maintaining functionality.
SSH and IoT Applications
SSH plays a vital role in IoT applications by providing a secure and reliable method for remote device management. Whether you're monitoring environmental sensors or controlling smart home devices, SSH ensures that your data remains protected from unauthorized access.
Real-World Examples
- Remote monitoring of agricultural sensors
- Managing security cameras in a smart home setup
- Deploying edge computing solutions for industrial IoT
Best Practices for SSH RemoteIoT
To maximize the benefits of SSH remote access for your IoT projects, adhere to the following best practices:
Regularly Update Your System
Keep your Raspberry Pi's operating system and software up to date to protect against vulnerabilities. Use the commands sudo apt update and sudo apt upgrade to install the latest updates.
Monitor SSH Logs
Regularly review your SSH logs to detect and respond to suspicious activity. You can find these logs in the file /var/log/auth.log.
Conclusion and Next Steps
SSH remote access is a powerful tool for managing Raspberry Pi-based IoT projects. By following the guidelines outlined in this article, you can ensure secure and efficient remote access to your devices. Remember to implement best practices and stay vigilant about system updates and security measures.
We encourage you to share your experiences and insights in the comments section below. Additionally, consider exploring related articles on our site to deepen your knowledge of IoT and Raspberry Pi applications. Together, let's build a safer and more connected future!